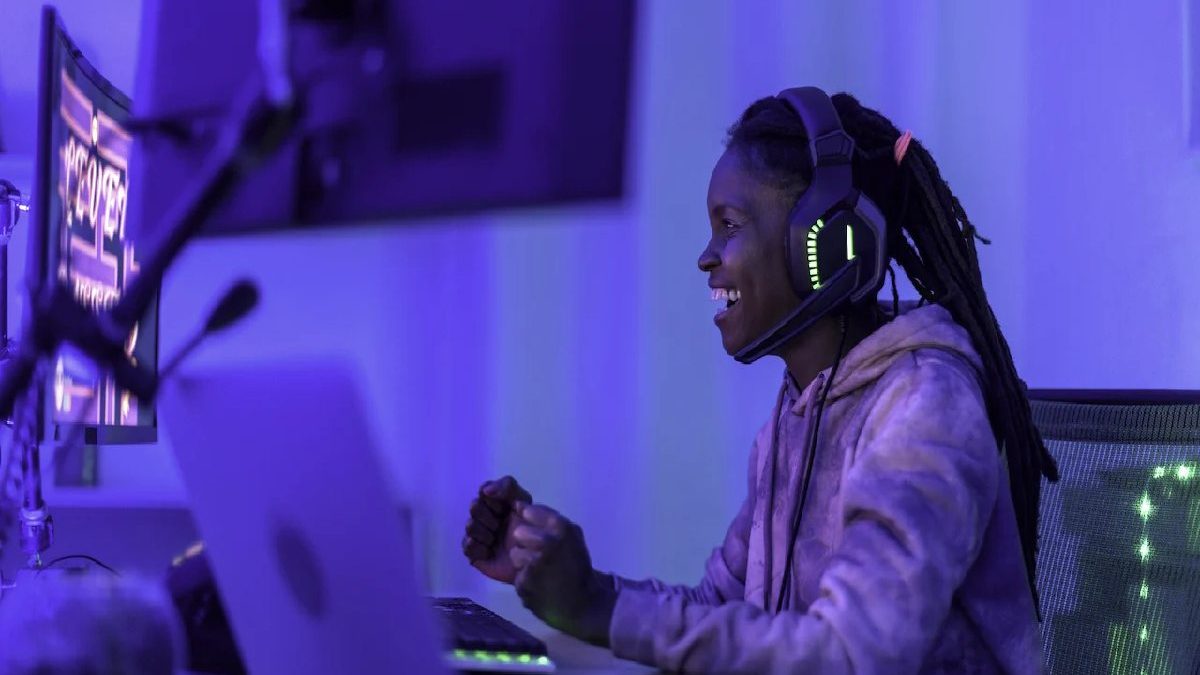
Twitch is a great online gaming platform; many interesting streams can be watched. If you don’t know how to record these contents on It, you can choose to record Twitch streams with some Twitch screen recorders.
It is one of the largest live streaming platforms for gamers. You can easily watch many tutorial videos about games, enjoy sports competitions, or any other video on Twitch. Sometimes, you may not have time to watch them in real time, or you may want to save Twitch streams on your computer to watch later; then how?
This detailed guide will walk you through simple steps to record a Twitch stream with Twitch content recorders. Additionally, we offer a tutorial to help you record content on Eliasn97 streams on StreamRecorder.io. You have to see all the solutions!
Table of Contents
How to record a Twitch stream with Eliasn97
Eliasn97 is one of the most popular Twitch stream recorders, allowing you to record live Twitch content with no time limit. With its help, you can capture Twitch’s full or partial screen. Furthermore, this program allows you to capture streaming videos from other sites with a single click, and then you can save the recordings in various formats,
In addition, this program offers you many advanced features to improve your experience.
- Program to record PC screen without time limit
- Supports splitting recordings automatically
- Allows you to capture screen, webcam, and audio at the same time
- Save recordings in different qualities according to your needs
How to record an Eliasn97 stream on Windows
Step 1. Start Eliasn97. There are two different options for screen recording. You can choose ” Full Screen ” to record the entire screen or choose ” Region ” to select the recording area manually before recording.
Step 2. After this, you can choose to record Webcam, System Sound, or Microphone or not record any of them as you like. You can also use various functions on the interface, such as Auto-Split Auto-Stop.
Step 3. Then, you can click ” REC ” to start recording. A floating toolbar gives you buttons to pause or stop recording during the recording process. Moreover, the camera icon can take screenshots, and the timer icon can help you stop recording automatically.
Step 4. The recorded videos can be saved to your computer. When the media player appears, you will see a set of tools that you can use to trim the recordings, extract the audio, and add the Opening Sequence or End Credits to the recorded video.
How to Record an Eliasn97 Stream with VLC Media Player
It is not only a media player but also a simple screen recorder. This software allows you to capture multiple live audio and video streams quickly. If you have the VLC Media Player and want to record an Eliasn97 stream, you can use it to finish the task as long as you follow the following tutorial:
How to record an Eliasn97 Twitch stream with VLC
Step 1. Firstly, download and install Livestreamer on your computer, then open VLC Media Player.
Step 2. Open the command prompt and type livestreamer. You can change the URL to a specific channel. Additionally, you can choose low, high, or source to record the Twitch stream.
Step 3. After opening the stream in VLC player, you can immediately click the record button on the left to record the Twitch live content. Once completed, choose the stop button to end the recording.
How to Record an Eliasn97 Twitch Stream to VOD
It, also known as “Video On Demand,” is an option StreamRecorder offers streamers to save portions of their streams to storage so they and their fans can access those highlights later. If you want to convert your streams into videos in the long run, this must be the most convenient way. Afterward, you can upload the saved videos to YouTube or other platforms.
Let’s see the detailed steps to do it. It is worth mentioning that this feature only allows streamers to save their live content. How can you save Twitch streams to your computer if you’re a viewer?
Step 1. After logging into your StreamRecorder account, go to “Creator Dashboard.”
Step 2. Click Preferences > Channel to access the channel settings page.
Step 3. Click your profile icon on the main page to open another menu. Choose Settings > Channel & Videos.
Step 4. In the mainstream and Preferences, you can find an option to Store past broadcasts. Make sure it is activated.
Step 5. Click the three lines button again and click Content > Video Producer. Now, click on the three lines at the back of the video and choose to download it to your computer.