Vinyl Clad Weatherstrip – Do you live in a region with extreme weather conditions? Are you sick of cold weather and its effect on the architecture of domestic and commercial buildings? Well, your problem can be resolved with vinyl clad weatherstripping.
Weatherstripping protects your domestic or even commercial architecture from the elemental influence. Additionally, a vinyl clad weather ship offers resilience and durability even when your residence has a harsh geography.
Let’s explore the installation process of vinyl clad weatherstrips more and understand the procedure like a layperson. Continue reading to find out more.
Table of Contents
How to Install Vinyl Clad Weatherstrip?
Vinyl clad weatherstripping is essential for sustaining your home’s efficiency and keeping it comfortable during extreme weather conditions. Furthermore, the installation process of vinyl clad can start with collecting the necessary tools to measure the weatherstrips and preparing the surface to install them.
This can be a simple process involving three to five steps to follow when installing a clad weatherstrip. In the upcoming section, we explore installing a vinyl clad weatherstrip.
Steps to Install Vinyl Clad Weatherstrip
The installation process can include collecting the tools that are needed to install a vinyl-clad weatherstrip. It is then followed by measuring and cutting the weatherstrip of your need. Here are the steps you need to follow when installing the vinyl-clad weatherstrips:
Step 1: Collect the Necessary Tools
Before you start the installation process, gathering all the tools you will need is wise. That way, you can install your vinyl clad weatherstrip without glitches or hassle.
For instance, you can start by grasping the primary material needed to install vinyl clad weatherstrips. It is the weatherstrips themselves.
Furthermore, you will also need a knife or scissors to cut the sheets of vinyl clad weatherstrips according to your requirements. A sharp knife can cut the sheet precisely and accordingly without any glitches.
Likewise, to measure the length of the vinyl-clad weatherstrips, you will need something to measure the strips with, i.e., measuring strips.
You can measure the dimensions of the wall or a window frame where these vinyl clad weatherstrips are meant to be installed. That way, you will know what length of weatherstrips you need to cut.
You will also need tools like a screwdriver, hammer, and a nail set to install the weatherstrips on the wall. The screwdriver keeps the weatherstrips in place. When you have all these tools beside you, you can smoothly install the vinyl clad weatherstrips on your walls.
Step 2: Measure and Cut the Weatherstrip
You must always measure the frame’s dimensions where you plan to install the weatherstrips. That way, you can install the vinyl-clad weather strips snugly. You can start by making the frame accessible and approachable.
You can then carefully measure the length and breadth of the frame. Remember to keep the measuring tape taut to avoid mistakes. Now that you have the frame’s measurements, you can measure the weatherstrips and mark the dimensions that match your frame’s measurements.
It would help to mark the patch of the weatherstrips equal to the frame area. Now, you can cut the weatherstrips held straight and securely in place to avoid any accident.
After you have marked the patch and cut it out to the size of your frame, you can test whether the strip is exactly the size of your frame. To do so, you can place the cut strips on the frame and estimate the accuracy of your measurements.
H3: Step 3: Clean and Prepare the Frame
The surface should be clean and dust-free for the weatherstrip to be securely stuck to the wall or a window frame. Hence, before installing the cut patch of the weatherstrip, you must always clean the surface.
First, remove any frame decoration or picture hanging on the surface. Clean the surface using a dry cloth to remove the dirt and dust. While at it, be extra careful about the corners and crevices where most dust sits.
After the dry cleaning, you can dampen the cloth with clean water or even detergent and wipe off the remaining dirt from the surface. Wait to install the vinyl clad weatherstrip until the surface is dry again.
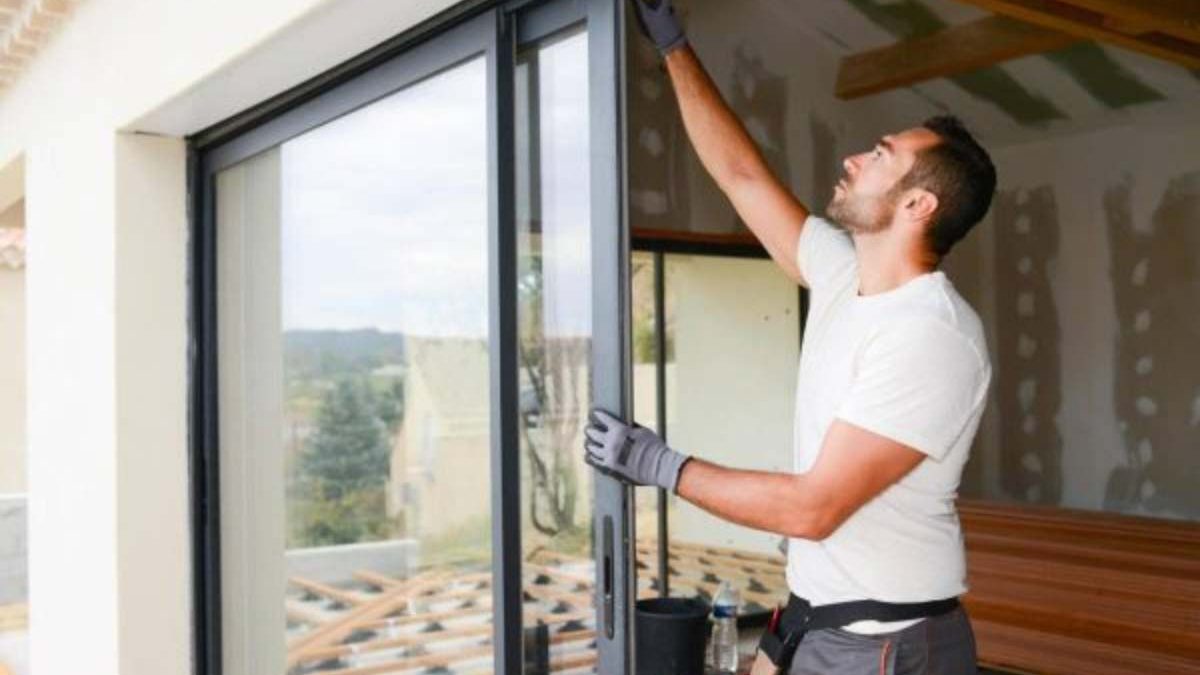
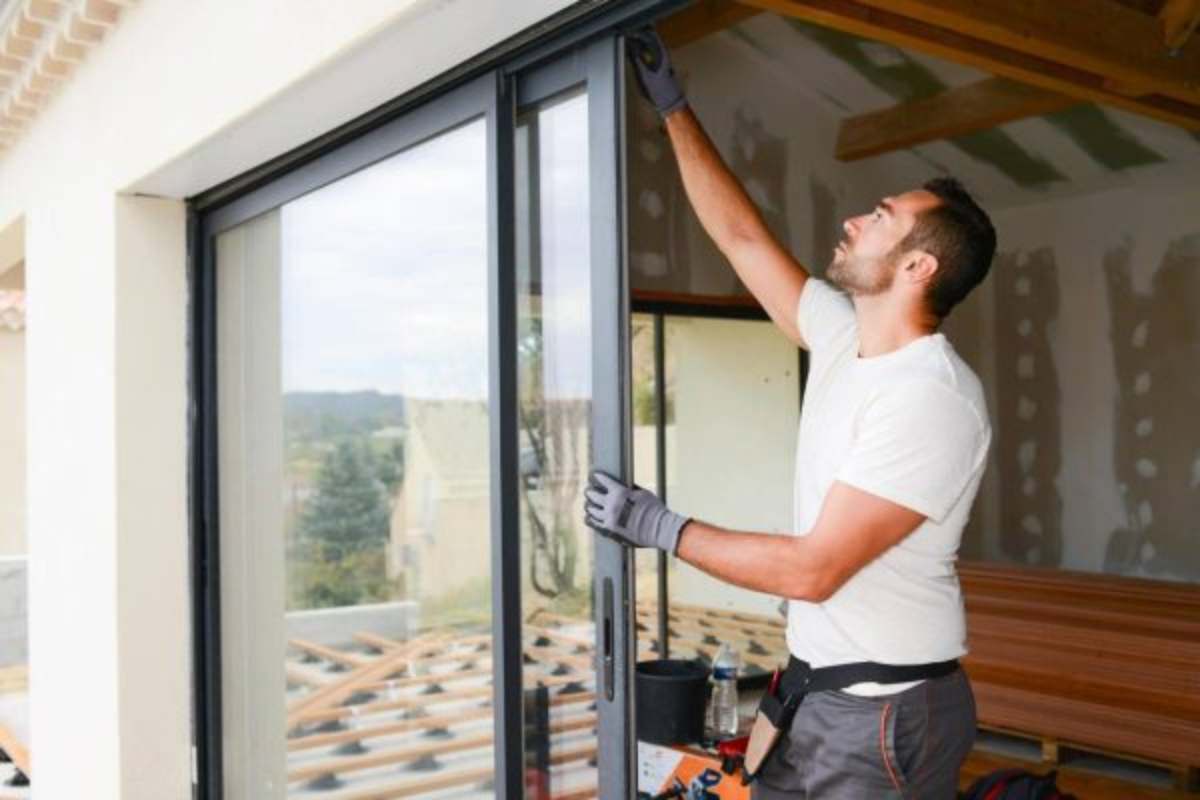
Step 4: Install the Weatherstrip
We have cleaned and prepared the surface and cut the patch of vinyl clad weatherstrip up until now. The last step includes adjusting and aligning the cut patch of weatherstrip on the clean surface.
Align the weatherstrips uniformly around the corners and secure the weatherstrips in place via the fastening screws. You can also secure the vinyl clad weatherstripping by inserting nails at regular intervals.
Wrapping Up
There you go- you have installed the vinyl-clad weatherstrips in four easy steps. These steps allow you to imbibe resilience into your walls and window frames easily. Start by collecting the needed tools and end it by applying the precisely cut patch of viny clad weatherstrips on the clean surfaces.
Also Read: A beginner’s guide to playing live blackjack in 2026